
Here is a great video for how to rig your models from MoreByKev
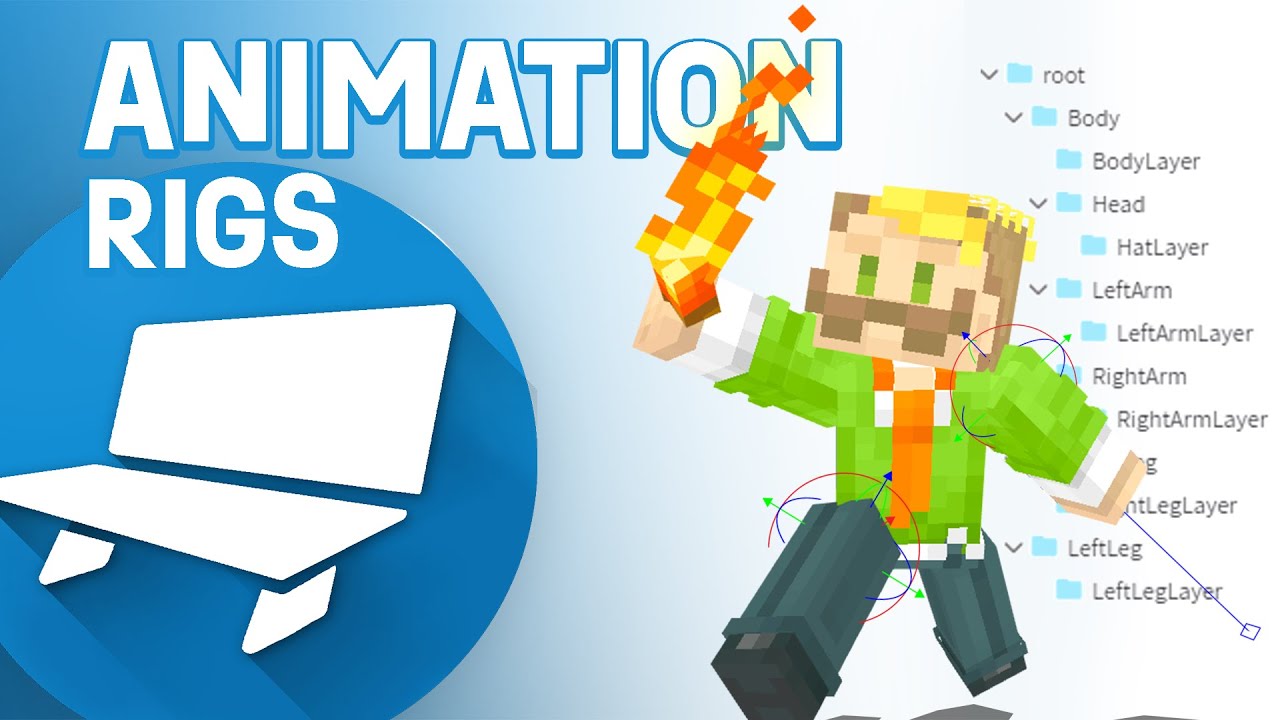
Parenting in Bone Structures
Parenting is the process of connecting bones in a way that creates a hierarchy. In this structure:
- Child bones can move independently,
- But they will also follow the movement of their parent bones.
This is essential for posing and animation, as it ensures natural and intuitive movements. For example, if the torso moves, the arms should move with it.
How to Set Up Parenting:
- Always start from the center of the body and work outward (e.g., from the torso to the arms and legs).
- Create a logical structure where closer (proximal) bones are parents to the farther (distal) bones.
Why Parenting Matters:
In addition to parenting:
- Correct pivot points (the rotation points for each bone) are crucial for smooth animation.
- Posing and animating typically work the same way – outward from the body’s center.

Pivot Points
Understanding Pivot Points
A pivot point is the center of rotation for a bone. When setting up a bone structure, placing the pivot point correctly is essential for smooth animation and future adjustments to the model.
Where to Place the Pivot Point:
- Avoid random placement (as shown in the left-most example of the image) – this can cause issues during animation or model edits.
- Don’t place it in the center of the geometry (middle example). While it may seem logical, it often doesn’t lead to realistic or intuitive movement.
- The best place for a pivot point is at the center of the joint – the point where two bones connect (right-most example).
Why Pivot Points Matter:
Correct pivot placement ensures:
- Natural and smooth movement for animations.
- Easier editing and adjustments later in the process.

The pivot point can be set in the viewport using the Pivot Tool (found in the Main Toolbar) or in the sidebar using sliders (found in the Element panel). The pivot point can also be centered to the selection using the button next to the Pivot Point sliders.

Locators
Locators are named points you can add to a bone. They have no geometry; they just mark a spot that moves with the bone, such as the tip of a gun barrel, the palm of a hand or a mount point.
AzureLib keeps locators with their bone, so you can use them from code as bone sockets: find where they are in the world to spawn projectiles or particles, or render items and blocks there with the attachment layer.
Tips for Locators:
- Put the locator inside the bone it should follow, so it moves with that bone's animation.
- Give each locator a unique, descriptive name (
muzzle,right_hand_grip), since code refers to it by name. - If something attached at the locator should point a certain way, rotate the locator; its rotation is used too.
Adding a Locator
Locators can only be added in the Edit tab.
- In the Outliner, right-click the bone the locator should belong to and choose
Add Locator. - Or select the bone, click the small arrow next to the
+above the Outliner, and chooseAdd Locator. - The locator is added inside the bone. Rename it (double-click its name), then move it into place with the move tool.

Once your locators are in place, turn them into sockets with the AzureLib Rig panel, where you can check which way they face and generate their code. See Sockets.
IK Target Bones
To animate just where a hand or foot goes, and have the rest of the limb bend to reach it, add an IK target bone: an empty bone (no cubes) that you animate like any other bone, and that an IK chain follows.
- Add a new bone, for example
left_hand_target, under the body or root. Keep it outside the limb it will drive; if it were inside the arm, moving the arm would move its own target. - Place it where the hand should be at rest.
- Animate its position. The arm follows once you give it an IK chain with the Animated bone target; see Animating Where a Limb Reaches.

Next Steps
With bones, pivots and locators set up, you can add AzureLib's rig features on top: hitboxes, sockets, IK for feet and hands, look-at, joint limits, spring bones for tails, and blend spaces. See Setting Up Rig Features.